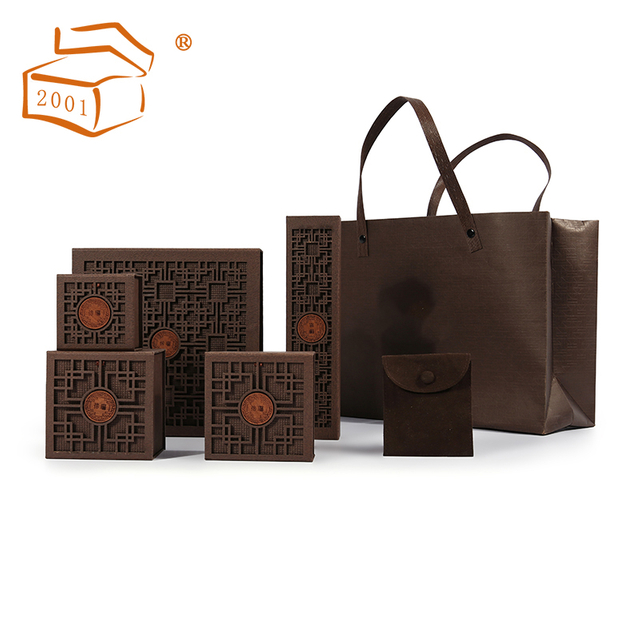
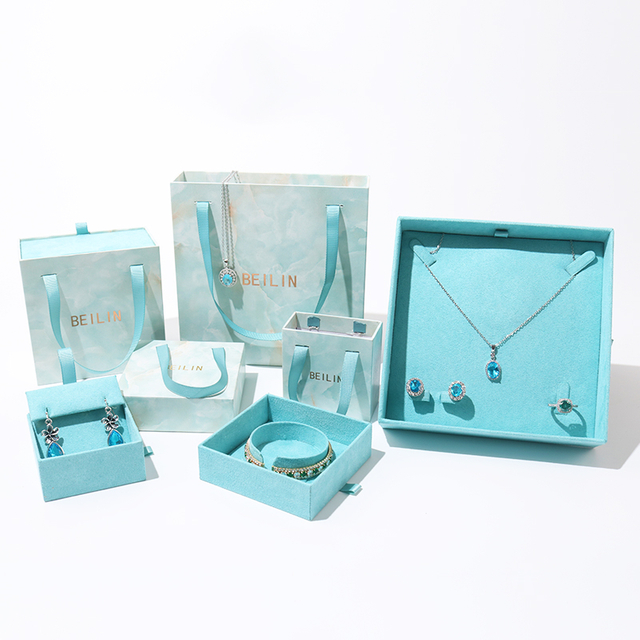
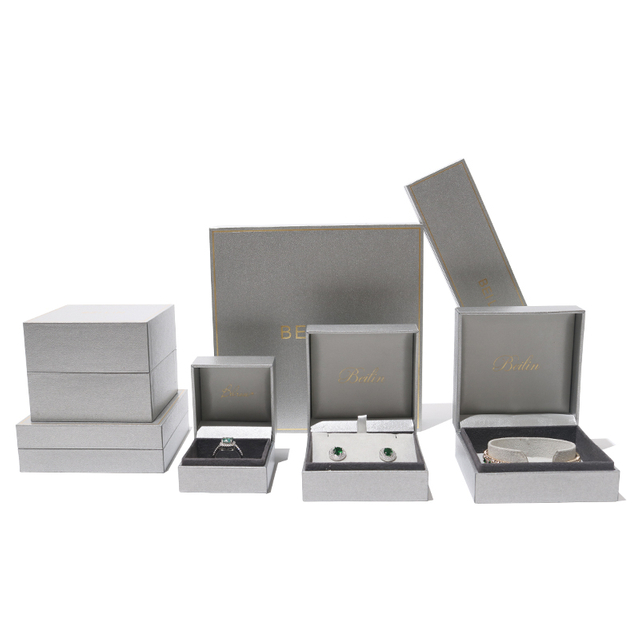
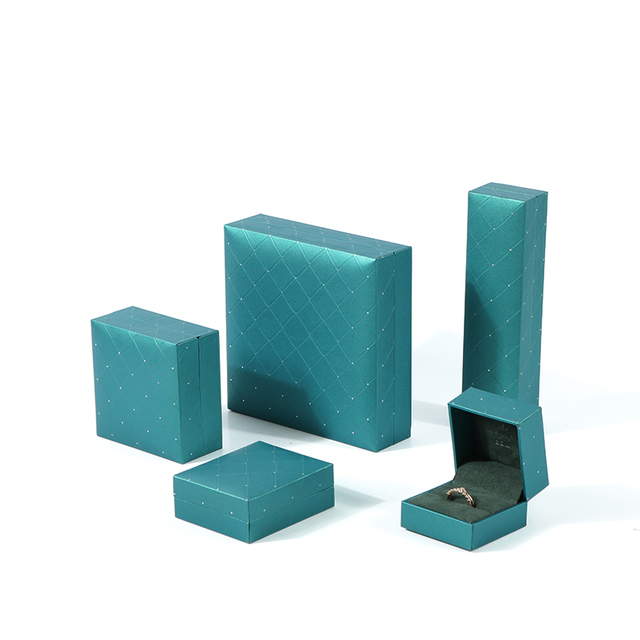
Luxury jewelry and watch gift box customization demands close collaboration between brands and packaging manufacturers. From structural templates (dielines) to final production, every step relies on precise design files: correct color modes, high resolution, professional file formats (AI, PDF, CAD, etc.), and separate layers for special finishes such as foil stamping and embossing. By following best practices and maintaining clear communication with your supplier, you’ll achieve premium packaging that perfectly reflects your brand’s quality and image.
1. Overview of the Custom Packaging Process
Choose box style & obtain dieline template
Select the type of gift box (e.g., rigid box, drawer box, flip-top box), then request the corresponding dieline from your supplier.
A dieline is a vector diagram indicating all cut lines, crease lines, and tabs needed for assembly.
Layout & design
Precisely place brand elements (logo, graphics, copy) on the dieline, and create separate layers for foil stamping, embossing, spot UV, etc.
Ensure all artwork meets bleed and safe-zone requirements.
Proofing & sampling
Produce a paper mock-up or 3D prototype to verify color, finishes, and structural fit.
Revise the artwork based on feedback until you’re satisfied.
Mass production
After final approval, proceed to printing, die-cutting, and post-press processes (linings, foil, embossing) to produce your high-end jewelry boxes.

2. Key File Types Required
Vector files (AI/EPS): Submit all logos, text, and graphics as editable vectors to ensure scalability without quality loss.
Layered PDF (Illustrator-compatible): A universal print-ready format that keeps your layers intact.
CAD/DXF files: For complex structures, supply the dieline in CAD or DXF format—or even 3D models (STEP, DWG) for fit verification.
High-res images (JPEG/PNG): Embed photos or bitmap graphics at a minimum of 300 DPI.
Fonts or outlined text: Convert all text to outlines, or include the font files to avoid substitution issues.
Tip: Many packaging suppliers offer free dieline templates (AI or PDF). Using the official template guarantees perfect artwork-to-structure alignment.

3. Artwork Preparation & Specifications
Color mode:
Design all print files in CMYK. Provide Pantone (PMS) references as needed.
Bleed & safe zone:
Bleed: Extend backgrounds and edge graphics at least 3 mm (0.125″) beyond cut lines.
Safe zone: Keep critical elements (text, logos) at least 3–6 mm (0.125″–0.25″) inside cut lines.
Layer management:
Place the dieline on a locked, non-printing layer; keep artwork, foil, embossing, and UV elements on separate layers—never flatten or merge them.
Outline text:
Convert fonts to outlines or include font files to ensure accurate output.
Image quality:
Embed all images at 300 DPI or higher. Avoid low-resolution raster files for logos and text.
Line thickness:
Use a minimum of 0.25 pt (≈0.07 mm) for the thinnest lines to prevent breaking.
File packaging:
Use Illustrator’s File → Package feature to gather all linked assets, fonts, and color swatches into one folder, then ZIP it for delivery.

4. Foil Stamping, Embossing & Logo Placement
Separate mask layers:
Place foil or embossing areas on their own vector layer, filled with 100% black (0C 0M 0Y 100K), so the die-cut machine recognizes them.
Vector-only:
Special finishes require vector shapes—raster art is not accepted.
Minimum widths & font sizes:
Foil stamping: Lines ≥ 0.2 mm thick; text ≥ 8 pt.
Embossing: Lines ≥ 0.4 mm thick; text ≥ 12 pt.
Logo positioning:
Center the logo on the lid or main panel. Avoid placing it across fold lines or too close to edges. Ensure high contrast with the background for maximum impact.

5. Common Mistakes & How to Avoid Them
| Mistake | How to Avoid |
|---|---|
| Designing in RGB | Always convert artwork to CMYK; specify Pantone codes if needed. |
| Low-res images (< 300 DPI) | Replace with high-resolution files or re-shoot photos. |
| Incorrect artwork dimensions | Strictly follow the dieline measurements and double-check sizes. |
| Missing bleed or safe zone | Extend visuals 3 mm beyond cut lines; keep text 3–6 mm inside cut. |
| Not outlining fonts | Convert all text to outlines or supply the font files. |
| Too-thin lines or text | Use ≥ 0.25 pt for lines and ≥ 6 pt for text (or ≥ 8 pt for foil). |
| Modifying the dieline | Never rotate, scale, or flatten the supplier’s dieline. |
| No mask for special finishes | Provide separate, black-filled mask layers for foil and embossing. |
| Ignoring supplier guidelines | Review and follow the supplier’s artwork submission specs. |
Before submission, run through the supplier’s Prepress Checklist to catch and correct errors, avoiding costly revisions and production delays.

6. Collaborating with Your Packaging Supplier
Use official dielines:
Download the latest dieline directly from the manufacturer to ensure accurate layout.
Share brand assets:
Provide vector logos, CMYK/Pantone values, and any brand guidelines to align on color and style.
Request samples & proofs:
Order a physical prototype or digital mock-up. Check color fidelity, finish placement, and overall feel.
Iterate with feedback:
Work with the supplier’s prepress engineers to refine line weights, color separations, or structural tweaks.
Confirm specs:
Clarify file submission methods (email, FTP, portal), naming conventions, deadlines, and proof approval workflow.
A proactive, collaborative approach with your supplier’s technical team ensures a smoother process and a premium end product.

7. Tips for Non-Designers & Small Teams
Define your brand vibe:
Establish a clear brand personality (e.g., “elegant & timeless”) and choose one or two main colors.
Keep it simple:
Focus on your logo and a clean background or finish. Avoid clutter for a sophisticated look.
Prioritize readability:
Use clear fonts with at least 12 pt for headlines and 8 pt for smaller text. Test legibility on printed samples.
Use templates or freelancers:
Leverage supplier-provided online tools or hire a freelance packaging designer for initial artwork.
Sample with low MOQ:
Produce a small batch or single prototype to physically test and refine the design before full production.
Rely on supplier support:
Many jewelry packaging factories offer free or low-cost design tweaks and 3D mock-ups for small clients.
Even without an in-house designer, focusing on your brand’s essence, using templates, and tapping into supplier expertise will help you deliver a stunning jewelry or watch gift box that elevates your customer’s unboxing experience.